
January 8, 2026
How to Paint Kitchen Cabinets: Tips and Tricks
Cabinets are the hardest painting job in a house. They get touched constantly, cleaned with degreasers, and inspected from two feet away in bright light.
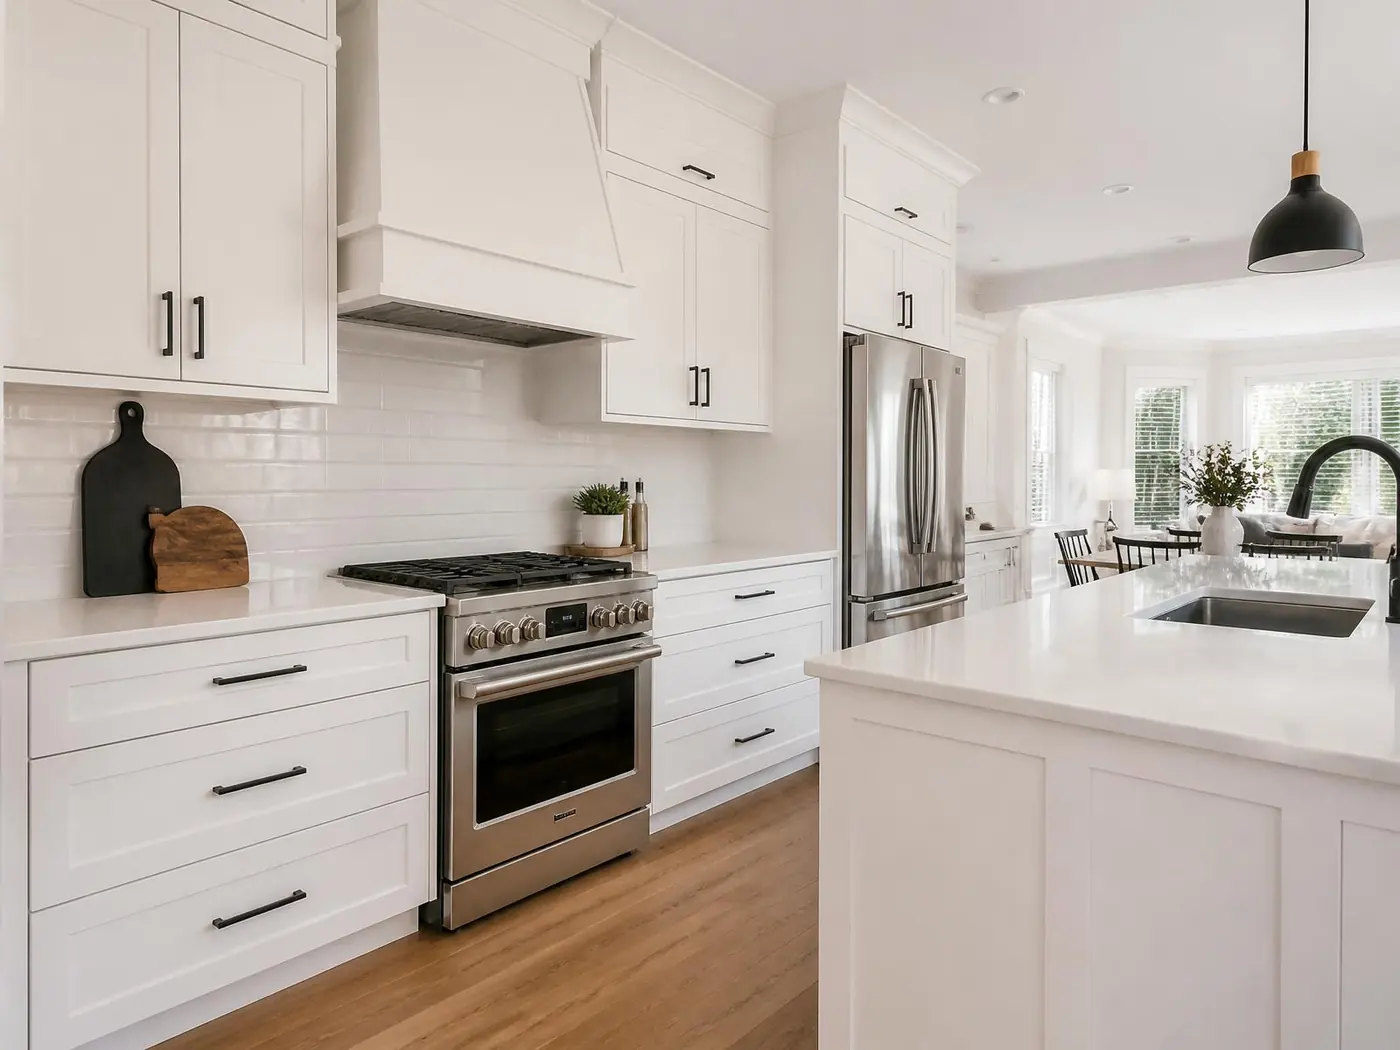
Painting kitchen cabinets is the highest-impact and lowest-cost way to transform a kitchen. It is also the interior painting project most likely to go wrong, because cabinets combine three difficult conditions: a contaminated surface, a demand for a flawless finish, and daily physical abuse once the job is done.
Nothing about the process is mysterious. It is just unforgiving of shortcuts. Every step below exists because skipping it produces a specific, predictable failure.
Step 1: Degrease, then degrease again
Kitchen cabinets carry years of aerosolized cooking oil, especially the doors above and beside the range. That film is invisible and it is the number one cause of cabinet paint peeling off in sheets six months later. No primer bonds to grease.
Use a dedicated degreaser or a TSP substitute, work in sections, and change your rags often. A dirty rag just redistributes the oil. Rinse with clean water afterward and let everything dry fully. Pay special attention to the area around handles and the top edges of doors, where hand oils concentrate.
Step 2: Label, remove, and organize
- Number every door and drawer front with tape on the inside of the hinge area.
- Remove all hardware. Do not paint around hinges or pulls.
- Bag and label the hardware for each door so nothing gets mismatched on reassembly.
- Set up a flat, well-lit, dust-controlled space to finish the doors. A garage works if you can keep dust down and temperature stable.
Step 3: Sand for adhesion, not for looks
You are not trying to remove the existing finish. You are trying to break its sheen so the primer has mechanical tooth to grip. A thorough scuff sand with 180 to 220 grit on every surface, including profile edges and inside corners, is the goal.
Then remove every trace of dust: vacuum, then wipe with a tack cloth or a slightly damp microfiber. Dust in cabinet primer is the difference between a factory-looking finish and one that feels gritty under your hand.
Step 4: Use the right primer
This is where the job is won or lost. A bonding primer designed for slick surfaces is essential on factory-finished cabinets, thermofoil, or laminate. On oak and other open-grain woods, a stain-blocking primer prevents tannin bleed that would otherwise push yellow through a white finish within weeks.
Shellac and oil-based bonding primers are the most reliable performers, though modern waterborne bonding primers have gotten very good. Whatever you use, sand lightly between primer and topcoat with fine paper. That step alone is what makes the final coat feel smooth.
Step 5: Choose a cabinet-grade topcoat
Wall paint on cabinets fails. Cabinets need a hard, self-leveling enamel formulated for trim and cabinetry. Waterborne alkyd and urethane-modified acrylic enamels dominate this category because they level like an oil paint, cure hard, and do not yellow the way traditional oil enamels do.
Satin and semi-gloss are the practical sheens. They clean easily and resist the constant handling cabinets receive. Matte cabinet finishes exist and look beautiful, but they show fingerprints and are much harder to clean.
Step 6: Spray if you can, brush well if you cannot
Sprayed cabinets look better than brushed cabinets, full stop. A fine-finish sprayer lays down an even film with no brush marks, which is exactly what a surface viewed from two feet away demands. It also requires masking the entire kitchen, controlling overspray, and knowing how to set the equipment.
If you are brushing, use a high-quality synthetic brush, a small foam or microfiber roller for flat panels, and a self-leveling additive if the product allows. Work in the correct sequence on each door: recessed panel first, then the horizontal rails, then the vertical stiles, laying off each section in one direction.
Step 7: Respect the cure
Cabinet enamels dry to the touch in hours and cure hard over two to four weeks. Rehanging doors and loading shelves before the film hardens is how you get impressions from dishes, doors that stick to frames, and finish that pulls off at the bumpers.
Give the doors at least several days flat before rehanging, add felt bumpers, and avoid any cleaner for a full month. This is the single most ignored step and the one that most often turns a good job into a disappointing one.
When to hire it out
Cabinet refinishing is the service where the gap between a professional result and a DIY result is widest. Spray equipment, a controlled finishing environment, and product knowledge produce a finish that genuinely resembles factory work. If your kitchen is the centerpiece of your home, this is the project worth handing over.
We refinish cabinets throughout Mooresville and the Lake Norman area, typically working in place with the doors sprayed off site, and we back the work with our written warranty.
Common questions
Frequently asked
Do you have to sand cabinets before painting?+
Yes. A scuff sand with 180 to 220 grit gives the primer something to grip. You do not need to strip the finish, but skipping the sanding step is a common cause of peeling.
What kind of paint is best for kitchen cabinets?+
A cabinet-grade enamel, typically a waterborne alkyd or urethane-modified acrylic in satin or semi-gloss. Standard wall paint is not hard enough and will not hold up to cleaning and handling.
How long do painted cabinets last?+
Properly prepped and sprayed cabinets with a quality enamel commonly look good for ten years or more. Poorly prepped cabinets can start chipping within a year.
Can you paint oak cabinets without the grain showing?+
Yes, but it takes extra work. Open oak grain needs to be filled with a grain filler or high-build primer and sanded flat before the finish coats, otherwise the texture reads through.
Next steps
Want it done right the first time?
Trailblaze Paints serves Mooresville, Cornelius, Davidson, Huntersville, Denver, and the wider Lake Norman area. Free quotes, insured crews, written warranty.